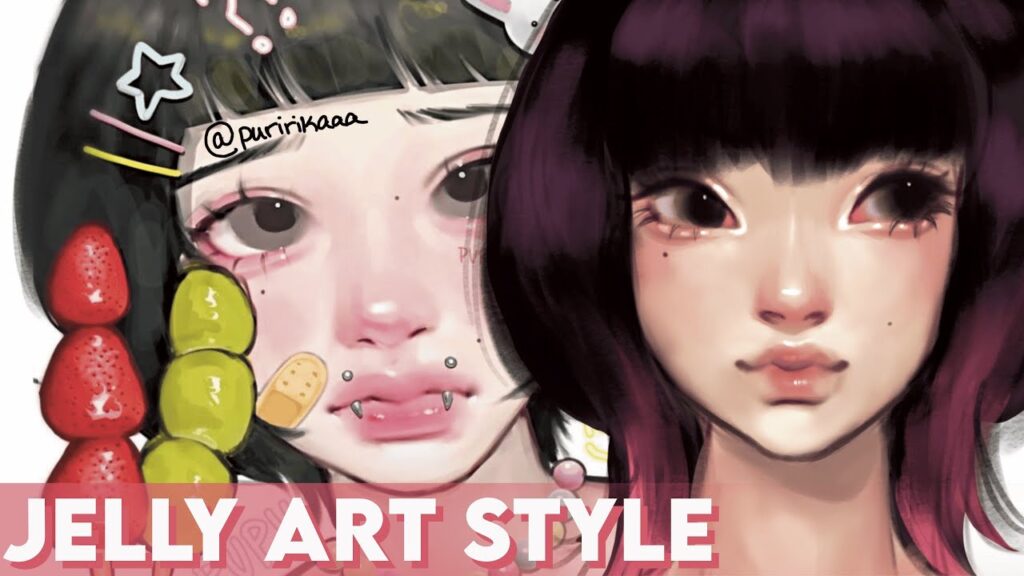
Jelly Art Style: The Sweet and Colorful World of Edible Art
Jelly art style is a fun and creative way to turn simple jelly into something amazing. This art form uses jelly as a canvas to make beautiful flowers, animals, and patterns that look too pretty to eat. People all around the world love this jelly art style because it combines cooking with creativity. It’s not just about making desserts — it’s about making edible art that brings joy and color to your table. With the right tools and a bit of patience, anyone can try jelly art and make something that looks like magic inside a cup or mold.
The beauty of jelly art style lies in how soft, shiny, and bright it looks. Artists use clear jelly as a base and inject colored jelly to form shapes, creating a 3D look. This technique makes it seem like flowers are floating inside the dessert. It’s relaxing, fun, and a great way to show creativity while also making delicious treats. Whether you are new to art or love making sweets, jelly art style is a lovely hobby to try. It’s a mix of art, science, and sweetness that everyone can enjoy.
What Is Jelly Art Style and Why Is It So Popular
Jelly art style is a creative and fun way to make desserts look like art. It is a form of edible art where jelly becomes the base, and colors are used to draw shapes inside it. Most people create flowers, hearts, or patterns that look 3D and shine beautifully under light. This art style started as a simple dessert idea but has now become a worldwide trend. People love it because it looks amazing and tastes sweet too. It is a mix of cooking and creativity that brings joy to both the maker and the viewer.
The popularity of jelly art style comes from how beautiful it looks. When you see a jelly dessert with colorful flowers floating inside, it feels like magic. It’s also very relaxing to make. Many artists say that creating jelly art helps them reduce stress. Social media has made it even more famous. When people post pictures of their jelly creations online, others get inspired to try it too. It’s not just a dessert — it’s an experience full of color, art, and sweetness.
How to Start with Jelly Art Style at Home
Starting with jelly art style at home is easier than it looks. You don’t need to be a chef or an artist to make it. All you need is clear jelly, some colored jelly, a few simple tools, and creativity. Clear jelly acts like glass. It’s made with gelatin, sugar, and water. You can also use agar-agar if you want a vegetarian option. Once your base jelly sets, you can start creating designs inside it using a syringe or needle tool.
The best way to begin is by trying simple shapes like petals or leaves. There are many online tutorials that show step-by-step ways to make designs. Don’t worry if your first one doesn’t look perfect — practice makes it better each time. The good thing about jelly art style is that even small mistakes still look pretty. It’s fun, colorful, and perfect for family projects or small parties.
Tools You Need to Create Jelly Art Style Desserts
To make jelly art style desserts, you will need a few special tools. These tools help you create clean and detailed designs inside the jelly. The most common tools are:
- A jelly art syringe or needle tool to inject colored jelly
- A clear jelly mold or cup for the base
- Small bowls for mixing colors
- Food coloring or fruit juices for natural shades
- A spoon, a pot, and a small whisk for mixing the jelly
These tools are easy to find online or at craft stores. You can start with basic tools and later buy more if you enjoy making it. Keeping everything clean is important because jelly is soft and clear, so small dirt or bubbles can show inside. Once you have your tools ready, making jelly art style desserts becomes an easy and enjoyable hobby.
Best Colors and Flavors for Jelly Art Style Creations
The best part of jelly art style is the freedom to play with colors and flavors. You can use any color you like, but most artists prefer soft and pastel shades for a natural flower look. Red, pink, yellow, and green are popular because they look bright and cheerful inside the jelly. If you love bold looks, you can try blue or purple for something unique.
When it comes to flavor, you can mix fruit juices or extracts to give your jelly a tasty twist. Strawberry, mango, and coconut are classic choices. Some people even mix milk to make pastel-colored jelly. The goal is to make it look and taste good at the same time. You can make your jelly art style reflect your personal taste — both in design and in flavor.
Step-by-Step Guide: Making Flowers in Jelly Art Style
- Make the Base Jelly – Mix gelatin, water, and sugar. Heat it until the sugar melts, then pour it into a mold or clear cup. Let it cool and set fully.
- Prepare Colored Jelly – Mix small amounts of gelatin with water and food coloring for your petals and leaves.
- Draw Your Design – Use a jelly art syringe or needle to inject the colored jelly into the clear base. Start from the bottom of your flower and slowly work up to the top.
- Add Details – Use different colors to add depth and shading. You can make petals, leaves, and even stems.
- Set and Serve – Once finished, chill the jelly for a few hours. When you remove it from the mold, you will see your 3D artwork shining inside.
It might take a few tries to get perfect flowers, but the process is relaxing and rewarding. Even simple flowers look amazing inside the jelly.
Tips to Make Your Jelly Art Style Look Professional
To make your jelly art style look professional, you need patience and attention to detail. Always use clear jelly with no bubbles. If bubbles appear, gently tap the mold before it sets. Try to use high-quality food coloring for bright and even shades.
When injecting colors, do it slowly so they spread smoothly inside the jelly. Also, plan your design before you start. It helps to sketch your flower pattern on paper first. Keep your tools clean and slightly warm so they move easily through the jelly. Finally, take good lighting photos of your finished art. Presentation is part of the magic of jelly art style.
Common Mistakes Beginners Make in Jelly Art Style
When people first try jelly art style, they often make some common mistakes. One big mistake is not letting the base jelly set properly before adding designs. If it’s too soft, your colors will mix and blur. Another mistake is using colors that are too dark. Dark colors make it hard to see the design clearly.
Some beginners also rush the process. Jelly art takes time, so you must be calm and slow. Using the wrong ratio of gelatin and water can also make the jelly too soft or too hard. Practice and patience are key to learning this art. Don’t feel bad if your first few desserts don’t look perfect — even experts start somewhere.
How Jelly Art Style Became a Global Trend
Jelly art style started in Asia, especially in countries like Vietnam and Japan, where food is often seen as art. Over time, it spread across the world thanks to social media. When people shared videos of jelly art creations, others were amazed by how real and colorful they looked.
Now, jelly art style is popular in bakeries, cafes, and home kitchens everywhere. It’s used for birthdays, weddings, and festive gifts. The idea of mixing art and food has touched many hearts. It shows that creativity can be found in simple things — even in a dessert.
Fun Jelly Art Style Ideas for Parties and Gifts
Jelly art style desserts make great gifts and party treats. You can create designs that match the theme of your event. For birthdays, make colorful balloons or heart shapes inside the jelly. For weddings, soft pastel flowers look elegant and romantic. During holidays like Christmas, you can make trees, snowflakes, or stars inside clear jelly cups.
If you want to give them as gifts, place each jelly in a cute box or wrap it with ribbon. These sweet and pretty desserts bring smiles to everyone. Kids also love making jelly art at parties because it’s easy, colorful, and safe to play with. You can even turn it into a small art activity for guests.
Health Benefits of Jelly Art Style Desserts
Apart from being beautiful, jelly art style desserts can also be healthy. Gelatin or agar-agar, which are the main ingredients, are good for your skin, hair, and joints. They help improve digestion and keep you hydrated. Using natural fruit juices or extracts adds vitamins and minerals too.
If you avoid artificial colors, your jelly art can be a guilt-free sweet treat. You can also make sugar-free versions using natural sweeteners. This makes jelly art desserts perfect for people who want to enjoy something tasty without feeling bad about calories.
Why Jelly Art Style Inspires Creativity
Jelly art style inspires creativity because it allows you to express yourself through color and shape. Each piece is unique, just like a painting. You can mix designs, experiment with patterns, and make new styles every time. Many people find it relaxing, almost like meditation.
It also helps children and beginners learn about colors, balance, and patience. Turning a simple dessert into something artistic builds confidence. It reminds us that art doesn’t always need paint or canvas — even food can be a form of self-expression.
Conclusion
Jelly art style is a wonderful way to bring together beauty, creativity, and sweetness. It’s more than just a dessert — it’s edible art that anyone can try. With some practice, simple tools, and imagination, you can turn clear jelly into a magical masterpiece. Whether you do it for fun, gifts, or special events, jelly art style is sure to impress everyone. It’s proof that creativity has no limits, not even in the kitchen.
FAQs
What is jelly art style made of?
Jelly art style is made using clear jelly as the base and colored jelly for designs. The main ingredients are gelatin, sugar, water, and food coloring.
Can I make jelly art without special tools?
Yes, you can start with basic tools like a syringe or even a straw, but special jelly art needles make the designs look more professional.
Is jelly art style hard to learn?
Not at all. It may look complex, but with a little practice, anyone can learn. Watching tutorials and practicing simple flowers is a good start.